
How to Sew a French Seam: A Step-by-Step Guide for Beginners
A French seam encloses every raw edge inside a neat fold, perfect for light and sheer fabrics. Here's how to sew one cleanly, step by step.
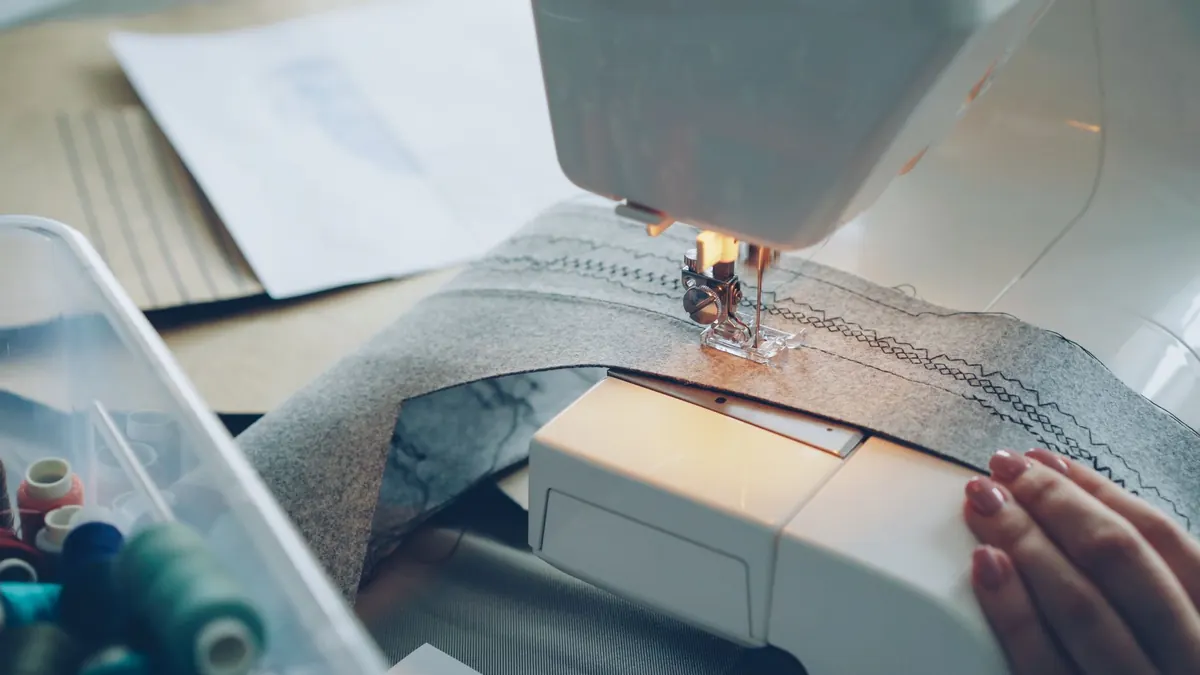
A French seam hides everything. No overlocking, no zigzag, no raw edge showing through when you hold the fabric up to the light. The raw edges are folded away inside a narrow tunnel of cloth, so the inside of a garment looks as considered as the outside. On cotton lawn, voile, silk habotai and chiffon, it is the difference between homemade and made properly. Happily, it is also one of the simplest techniques a beginner can learn: two straight lines of stitching, one trim, a decent press.
What a French seam actually is
A French seam is a seam sewn twice. First you stitch the two pieces wrong sides together, close to the raw edge. Then you trim that first seam allowance down, fold the fabric so the right sides are together, and stitch again — this time a little further in, so the second line of stitching swallows the trimmed edges completely.
The result is a flat, narrow seam with no visible raw edge on either side. It is strong, it does not fray, and it suits fine fabric that would pucker under an overlocker or show bulk through a close-fitting garment.
What you need before you start
You do not need much, but the details matter more than usual on fine cloth.
- Your fabric, pressed first. Creases sewn in are creases you will fight later.
- A fine needle: a 60/8 or 70/10 sharps, or a microtex needle for silk and tightly woven cotton.
- Fine thread, around 60 to 70 weight. Thick thread makes a thick seam.
- Small, sharp scissors for trimming. A blunt pair chews the edge and leaves lumps inside the fold.
- Fine pins or sewing clips, an iron within reach, and a seam gauge to keep your stitching line honest.
Then check your seam allowance. Most patterns give 1.5 cm (5/8 in), which is plenty: the first pass takes about 6 mm, the second takes another 6 mm, and the trimmed-off 3 mm disappears inside. If your pattern allows only 1 cm, you can still French seam it, but work narrower — 5 mm, then 5 mm — and trim very carefully.
Sewing a French seam, step by step
- Place the pieces wrong sides together. This feels wrong. It is right. Line up the raw edges exactly.
- Sew the first line about 6 mm from the raw edge, with a stitch length of roughly 2 to 2.5 mm. Shorter than usual, but not so short that the needle punches holes.
- Backstitch briefly at both ends. Two or three stitches is enough. Long backstitches make a lump that shows through the finished seam.
- Trim the seam allowance to about 3 mm. Cut evenly and finish the job — any tuft left behind will be visible through the fold.
- Press the seam flat as it was sewn, then press the seam allowance open. This is the step people skip, and it decides whether the second line sits straight.
- Fold the fabric right sides together along the stitched line. The seam you just sewed is now the fold.
- Press the fold, working from the inside. The first stitch line should sit exactly on the crease, with no fabric rolled over the edge.
- Sew the second line about 6 mm from the folded edge. Check as you go that the trimmed edges are trapped inside and nothing is poking out.
- Press the finished seam to one side — for side seams, usually towards the back. It should feel flat and even, with a soft ridge down the middle.
Open the piece out. You should see one neat line of stitching and no trace of the raw edge. A whisker of frayed fabric means your second stitching line drifted too far from the fold.
Trim as you go, not afterwards. The moment the first line is finished, trim it and press it, then move on.
Pressing is what makes it look professional
Fine fabric punishes careless ironing. Use a dry iron on a moderate setting, and lift and place rather than pushing the iron along the seam, which stretches the cloth and distorts the line, especially on the bias.
A pressing cloth protects silk and synthetic blends from shine and water marks. When you press a finished French seam, start from the right side so you can see what you are doing, then turn it over and press the seam allowance to one side, using the tip of the iron rather than the flat sole plate to keep it narrow.
Taming slippery, sheer fabric
Stop it slipping
Chiffon and silk habotai slide about under the presser foot, and a wandering first line means a wonky second one. Pin generously and place pins parallel to the seam, well inside the allowance so the holes stay hidden. If the fabric marks easily, use clips instead.
Keep the bulk down
Reduce the presser foot pressure if your machine allows it; a machine set up for denim will push fine fabric ahead of the needle. Use a straight stitch plate where you have one, and start each seam with the needle already in the fabric rather than letting it drag in from the edge.
Curves, corners and when not to bother
Gentle curves
Photo: Vitaly Gariev / Pexels