
A Beginner's Woodworking Tool Checklist for a Small Home Workshop
The hand tools and safety kit worth buying before your first project, plus what to leave on the shelf until the work demands it.
Buying tools is the part everyone rushes. You've got a project in mind, a timber merchant nearby, and before long there's a drawer full of things you've used once. The better approach is slower and cheaper: buy the tools that make your first handful of projects possible, then let everything else arrive when the work actually asks for it. Here's what earns its place on the bench, and what can wait.
Start With Measuring and Marking
Every accurate cut begins with an accurate line, so this is the one area where paying a little more pays you back straight away. A cheap tape measure is fine. A cheap square is not — a square that's out by half a degree will quietly ruin every joint you attempt, and you won't know why.
- A 150mm steel rule for setting gauges and checking depths
- A 3m or 5m retractable tape measure with a locking tab
- A 150mm try square, or a combination square if you can stretch to one
- A marking knife — a craft knife with a fresh blade will do at a push
- A 0.5mm mechanical pencil and a soft eraser
Test any square before you trust it. Hold it against the straight edge of a board, draw a fine line, then flip the square over and draw a second line through the same point. If the two lines diverge, take it back. Do this in the shop, not at home.
Saws, Chisels and a Plane
Hand tools first. They're quieter, cheaper, and they teach you what the wood is doing in a way that a screaming power tool never will.
The saw
A tenon saw of around 250–300mm with roughly 12 to 14 teeth per inch will handle most joint work, small crosscuts and tenons. If you prefer a pull saw, a Japanese ryoba gives you crosscut and rip teeth in one tool and cuts fast. A coping saw with a packet of spare blades deals with curves for very little money.
Chisels
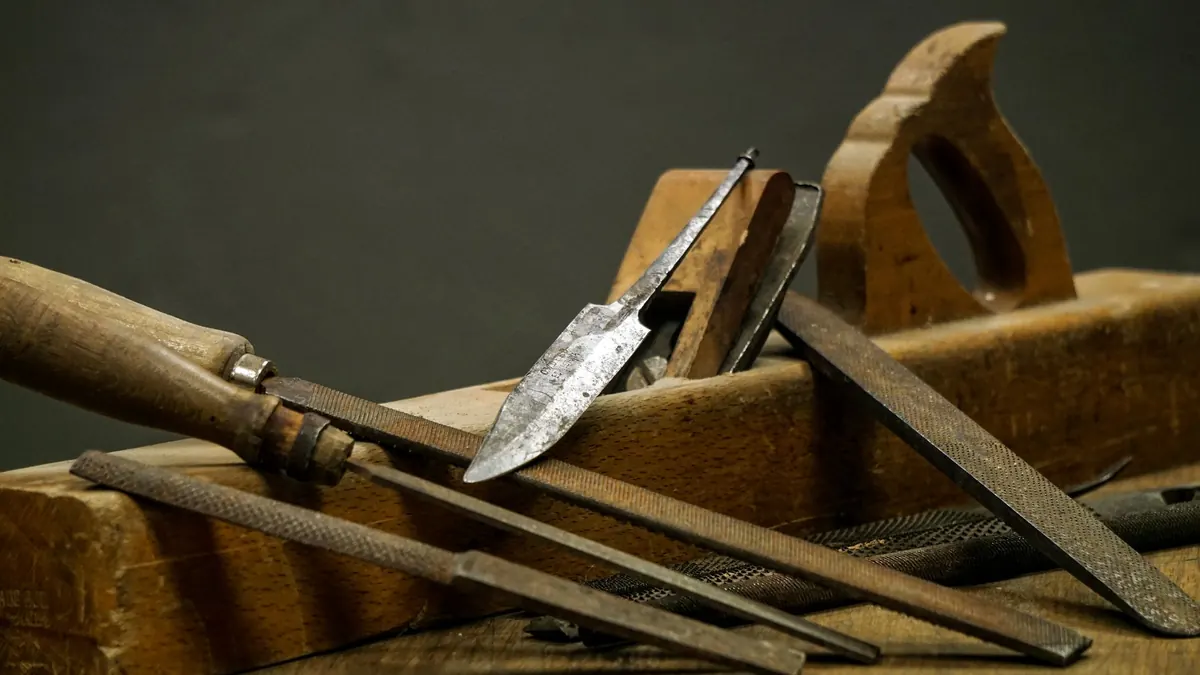
Three bevel-edge chisels — roughly 6mm, 12mm and 19mm — cover nearly everything a beginner does. A set of three decent ones beats a set of eight cheap ones, because the cheap ones won't hold an edge and you'll spend your evenings sharpening instead of building. Add a mallet, preferably wooden or nylon, not a metal hammer.
A plane
If one tool separates tidy work from rough work, it's the plane. A low-angle block plane is the friendliest introduction: small, light, easy to set up, and perfect for trimming end grain and chamfering edges. A No. 4 bench plane is the sensible next step.
Something to Hold the Work
You cannot cut accurately with one hand while the other hand holds the wood still. This is where beginners lose fingers and patience alike.
- A sturdy bench. If you've no room for a proper one, a folding workbench will do to start with.
- A bench hook — make one from three scraps of timber. It's a genuinely good first project and costs nothing.
- Four clamps minimum: two F-clamps around 300mm and two smaller ones. You'll want more within a month.
- A vice, if your bench can take one. Bolt it at the left end if you're right-handed.
Add a cheap bench brush and a tin of paste wax. A waxed bench top lets wood slide instead of grabbing, and a waxed plane sole cuts more easily.
The Safety Kit to Buy First
This is not the section to economise on. Buy it before your first cut, not after.
- Safety glasses that actually fit your face. If they fog up or slide down, you'll take them off, so try them on before buying.
- Ear defenders for anything powered, even a router used in short bursts.
- A dust mask or half-mask respirator rated for fine dust. Sanding and sawing MDF, plywood and hardwoods produces particles you don't want in your lungs. If you have asthma or another respiratory condition, speak to your GP before taking up dusty work.
- A basic first aid kit with plasters, gauze and tape, kept in the workshop rather than the kitchen.
- Push sticks for if and when you buy power saws. Keep them within reach, not in a drawer.
Buy the tool when the job asks for it, not when the catalogue does.
Any cut deeper than a graze, or anything involving eyes, deserves proper medical attention. Don't be heroic about it.
What You Can Happily Delay
The list of tools you don't need yet is much longer than the list you do. Leave these until a project forces your hand:
- Table saws, mitre saws and circular saws
- Routers and a collection of router bits
- A thicknesser or planer
- Dovetail jigs, biscuit joiners and pocket-hole kits
- Expensive sharpening systems
Sharpening is the exception worth a small early spend. A combination waterstone or a diamond plate and a simple honing guide will keep your chisels and plane iron working. Blunt tools are dangerous tools, because you push harder and the edge cuts less predictably.
A Buying Order That Works
- Week one: square, steel rule, tape, marking knife, pencil, safety glasses, first aid kit.
- Week two: tenon saw, three chisels, mallet, block plane, timber for a bench hook.
- Week three: clamps, bench brush, sharpening stone and honing guide.
- Later: everything else, as the work demands it.
Set Up the Space Before the Tool Wall
A small workshop lives or dies on light and order. Get a task lamp you can move to the work rather than relying on a single bulb overhead, and keep extension leads off a damp floor and unplugged when you're finished. Store chisels and plane irons with their edges protected — a scrap of timber with a saw kerf cut into it makes a perfectly good edge guard.
Keep a bin for offcuts and a box for the pieces worth keeping. A tidy bench isn't fussiness; it's the difference between ten minutes of work and an hour of hunting for the square you put down somewhere. Start with the short list, make something small and useful, and let the rest of the kit build itself around the way you actually work.
Photo: ClickerHappy / Pixabay