

Handmade Christmas Cards: 8 Papercraft Designs Using Basic Tools
Eight handmade Christmas card designs that need nothing more than card stock, a scalpel, a cutting mat and glue — plus tips for batching and finishing a set.
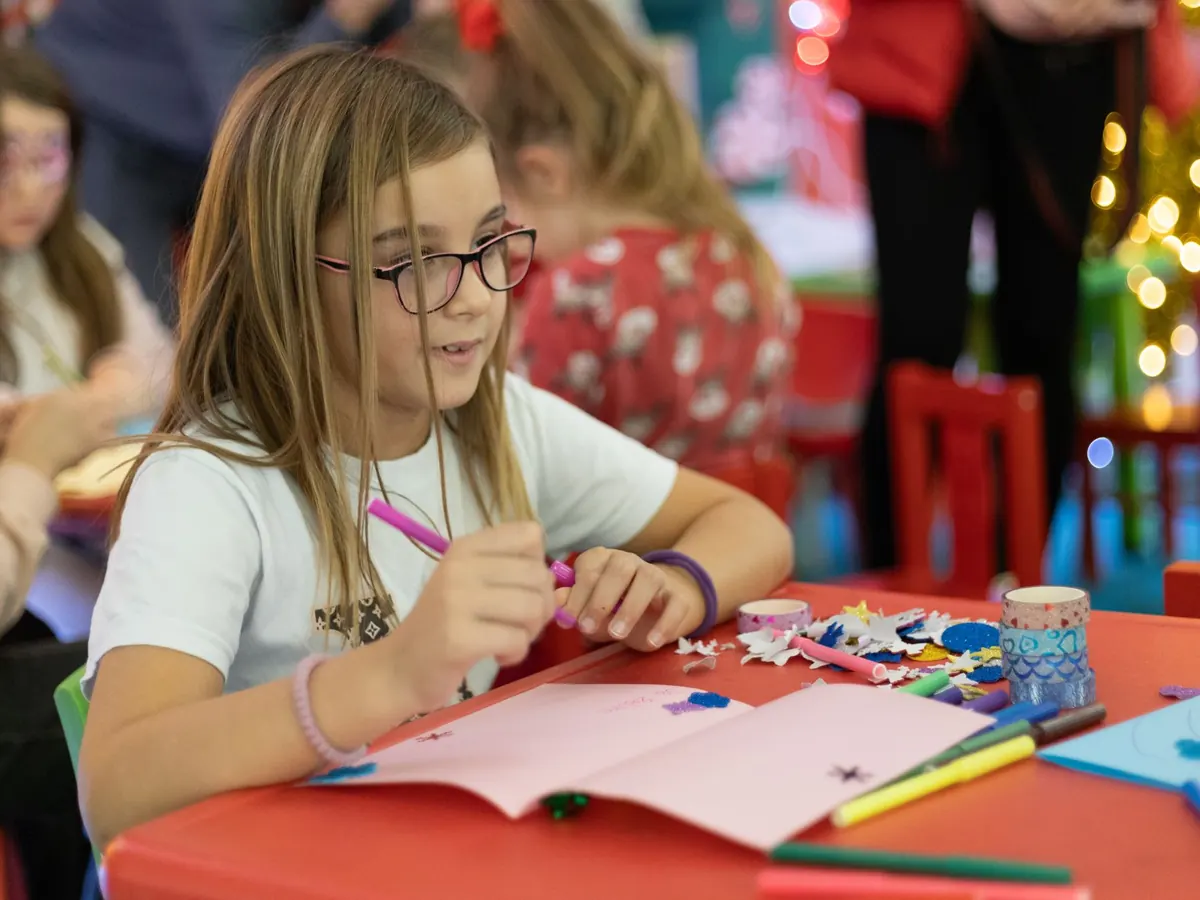
There is a particular pleasure in a Christmas card that someone has cut by hand. The scalpel line wobbles slightly, the layers sit a fraction off-centre, and no two cards in the pile are quite the same. You do not need a craft room to make them, either. A few sheets of card stock, a sharp blade, a cutting mat and glue will see you through all eight designs below — and most take under twenty minutes once you have made the first one.
Four tools and three habits
The kit list is short:
- A scalpel or craft knife with a fresh blade, plus spares
- A self-healing cutting mat, A3 if you have the space
- Card stock in three weights: 160gsm for folds and pop-ups, 220–250gsm for panels, 300gsm for card bases
- Glue: fine-tip PVA for small pieces, a glue stick for flat areas, and something clear-drying for anything raised
Three habits matter more than extra equipment. Score before you fold: a light pass with the back of the blade along a steel ruler gives a crisp spine instead of a cracked one. Cut with the blade pointing away from your body and pull it towards you in one steady stroke rather than sawing at the paper. Change the blade as soon as it starts to drag, because a blunt edge tears fibres and wanders off line. And dry-fit every layer before the glue comes out. Paper grabs fast, and nudging a loose piece is far easier than shifting a stuck one.
Three cut-through designs
1. Aperture star
Fold an A5 base from 300gsm card. Draw a star on the inside of the front panel in pencil, then cut it out on the mat, turning the card rather than the blade. Back the opening with a contrasting scrap glued inside, or leave it clear so the message shows through. Soft pencil rubs away cleanly with an eraser.
2. Pop-up tree
Cut two identical half-trees — one straight edge, one zigzag — from 160gsm card. Fold each in half and glue the two halves back to back so the tree gains a spine. Glue the outer faces to the inside of the card, centred on the fold, and the tree stands up as the card opens. Open and close it once before the glue sets, to check the fold clears the edges.
3. Snowflake panel
Cut a 12cm circle, fold it in half, then in half twice more so you have a wedge of eight layers. Snip small notches from the two cut edges; curves are fine if you go slowly. Unfold, press flat, then glue it to the front with tiny dots of PVA at the centre and the points so it sits slightly proud of the card.
Three layered designs
4. Layered bauble
Cut three circles in descending sizes from coordinating card. Rather than buying foam pads, cut small squares of 300gsm card and glue them between the layers as risers, keeping them behind the middle of each circle. Offset the whole stack slightly to one side so the design has room to breathe.
5. Negative-space robin
Draw a simple robin silhouette — rounded body, short tail, small beak — on the back of the front panel and cut it out. Back the hole with red or grey paper, or with a page from an old book if you like that look. Simple shapes work best here; fussy outlines are hard to cut cleanly twice.
6. Offcut mosaic tree
Keep every scrap bigger than a fingernail. Cut them into rough triangles and glue them in rows, starting at the bottom of the tree and working upwards, overlapping each row slightly. A glue stick keeps flat pieces tidy; too much PVA will cockle thin card.
Two folded designs
7. Concertina rosette
Cut a strip about 2cm by 30cm and score it every centimetre, then fold it into a zigzag. Join the two ends into a ring, press the ring flat so it fans into a rosette, and glue a small circle over the centre to hold it. Score first and the folds line up; skip it and the rosette will lean.
8. Paper-loop bauble
Cut strips measuring 1cm by 10cm, 1cm by 8cm and 1cm by 6cm. Glue each strip into a loop, then stack the loops smallest to largest and glue them at a single point so they sit like a bauble. A dab of glue on the card behind the top loop keeps the whole thing steady.
Finishing, posting and batching
A few small things separate a card that looks made from one that looks homemade.
- Erase every pencil line and burnish every fold with a fingernail or the back of a spoon.
- Write the message before you assemble anything with a pop-up or a deep panel — reaching inside a finished card is miserable.
- Weight flat cards under a heavy book for ten minutes so they dry without curling.
- Leave dimensional cards overnight before they go anywhere near an envelope.
Chunky cards can cost more to post, so check the thickness and size against your postal service's letter limits before you commit to forty of them. Store finished cards flat in a box, away from damp, and they will keep perfectly well until December.
The real trick with a set like this is to batch the work. Cut all the bases for six cards at once, then all the apertures, then all the layers. Your blade stays sharp, your mat stays set up, and you spend ten minutes tidying instead of an hour. Make one card from start to finish first to check the proportions; after that, work in stages and the eight designs become a comfortable evening's work rather than a scramble.
Photo: Boris Hamer / Pexels