
How to Make Handmade Paper from Recycled Scrap Paper
A practical, messy-but-fun guide to turning waste paper into pulp, pulling sheets with a homemade mould and deckle, then pressing and drying them into usable handmade paper.
Handmade paper has an undeserved reputation for being precious. In practice it is one of the least fussy crafts you can do at the kitchen table. You need waste paper, water, a blender that never sees food again, and somewhere flat to dry things. Your first sheets will be lumpy and uneven. Your fifth will be something you actually want to write on.
Set aside an afternoon, put on an apron, and accept that the floor will get wet.
What You Actually Need
- Scrap paper: office paper, envelopes, newspaper, brown paper bags, old exercise books. Skip anything glossy or plastic-coated, and avoid thermal till receipts, which have coatings you don't want in your pulp.
- A blender: a second-hand one from a charity shop is ideal. Paper fibres blunt blades and you do not want them near your soup.
- A wide, flat tub: a washing-up bowl or a cat litter tray works well. It needs to be bigger than your mould so you can dip at an angle.
- A mould and deckle: two matching wooden frames, one with mesh stretched over it. More on this below.
- Felts: old cotton cloths, tea towels, J-cloths or thin blankets.
- Two boards and something heavy: chopping boards and a stack of books will do, or a rolling pin.
- A sponge, a jug and a plastic sheet for the table.
- Optional: cornflour for sizing, dried petals, coloured tissue paper, embroidery threads.
Turning Scrap into Pulp
Tear the paper into pieces roughly the size of a postage stamp. Smaller pieces soak faster, but there's no need to be precise. Cover them with warm water and leave for an hour at minimum; overnight is better and makes the blending much easier.
Now blend. Put a good handful of soaked paper into the jug, add about two cups of water, and pulse in short bursts rather than running it continuously. Ten to twenty seconds of pulsing is usually enough. You're aiming for something like thin porridge, with no obvious flakes left. Over-blending chops the fibres short and gives you weak, crumbly paper, so stop while it still looks slightly cloudy.
Keep batches separate by colour: a tub of white-ish pulp for writing paper, a tub of brown for sturdy covers. Pulp stored in a sealed container will keep for a few days. If it starts to smell, tip it out and start again.
Making a Mould and Deckle
The frame
Two frames the same size, made from softwood battens or old picture frames. Stretch insect mesh or fine net curtain over one frame and staple it tight, like a drum. That's the mould. The plain frame is the deckle, and it sits on top to give the sheet its edges.
The vat
Fill your tub about two-thirds full of water and stir in a couple of handfuls of pulp. The water should look like skimmed milk, not porridge. Too little pulp gives paper you can read through; too much gives a spongy slab that takes days to dry. Swirl it with your hand so nothing settles.
Pulling a Sheet
Hold the mould with the deckle on top. Dip it into the vat at an angle, then bring it level and lift straight up. Water drains through the mesh and leaves an even layer of pulp behind. If you get a bald patch, lower it back in and try again — nothing is wasted at this stage.
Now shake the mould gently, side to side and then front to back, for a few seconds. This locks the fibres together so the sheet holds when you lift it. Take the deckle off and let the excess water drip back into the tub.
To release the sheet, lay a damp cloth over the pulp, press firmly with a sponge to squeeze out water, then roll the whole thing over and lift the mould away. The sheet should settle onto the cloth. If it sticks, sponge it from the back a little longer.
Work over the tub, not over the carpet. A plastic sheet under everything saves an argument later.
Pressing and Drying
Build a stack: cloth, sheet, cloth, sheet, and so on, finishing with a board on top. Press down hard, or roll over the top with a rolling pin, and leave it for a few minutes. This flattens the fibres and squeezes out the bulk of the water. Change the soaking cloths and press again if you have time.
For drying, you have options:
- Cloth and board: leave sheets on the cloth, cover with a board and weights, and let them dry slowly. This gives the flattest results.
- Ironing: once sheets are damp rather than dripping, iron them between two cloths on a low setting.
- Air drying: fastest, but sheets will curl at the edges. Press them under heavy books for a day afterwards.
Unsized handmade paper is thirsty, so fountain pen ink will feather and bleed across it. If you want to write on it, stir a little cooked cornflour paste into the vat before pulling, or add a small amount of diluted PVA to the pulp. Test on one sheet first.
Troubleshooting the Common Faults
- Sheets tear when lifted: add more pulp to the vat and shake the mould for longer.
- Paper is thick and spongy: thin the vat and press harder between cloths.
- Blotchy patches: the pulp isn't evenly mixed, or you're blending batches of very different colours together.
- Paper crumbles at the edges: the fibres were blended too fine. Pulse less next time.
- Sheet won't release: sponge the back of the mesh before turning it out.
Variations Worth Trying
Once the basic process works, the experimenting gets interesting. Scatter dried petals, small leaves or snippets of coloured thread into the vat and they'll set into the sheet. Coloured tissue paper blended with white pulp gives soft pastel tones; a few squares at a time is plenty. Brown paper and card produce a solid, woody sheet that stands up well as a book cover. Pressing lace or a textured leaf into a damp sheet leaves an embossed pattern you can't buy.
Start Small and Keep the Sink Clear
Make one small batch before you commit a whole afternoon to it, and never pour leftover pulp down the sink — it sets like concrete in the trap. Tip it into a sieve and bin the solids, or keep it in a sealed tub for another session.
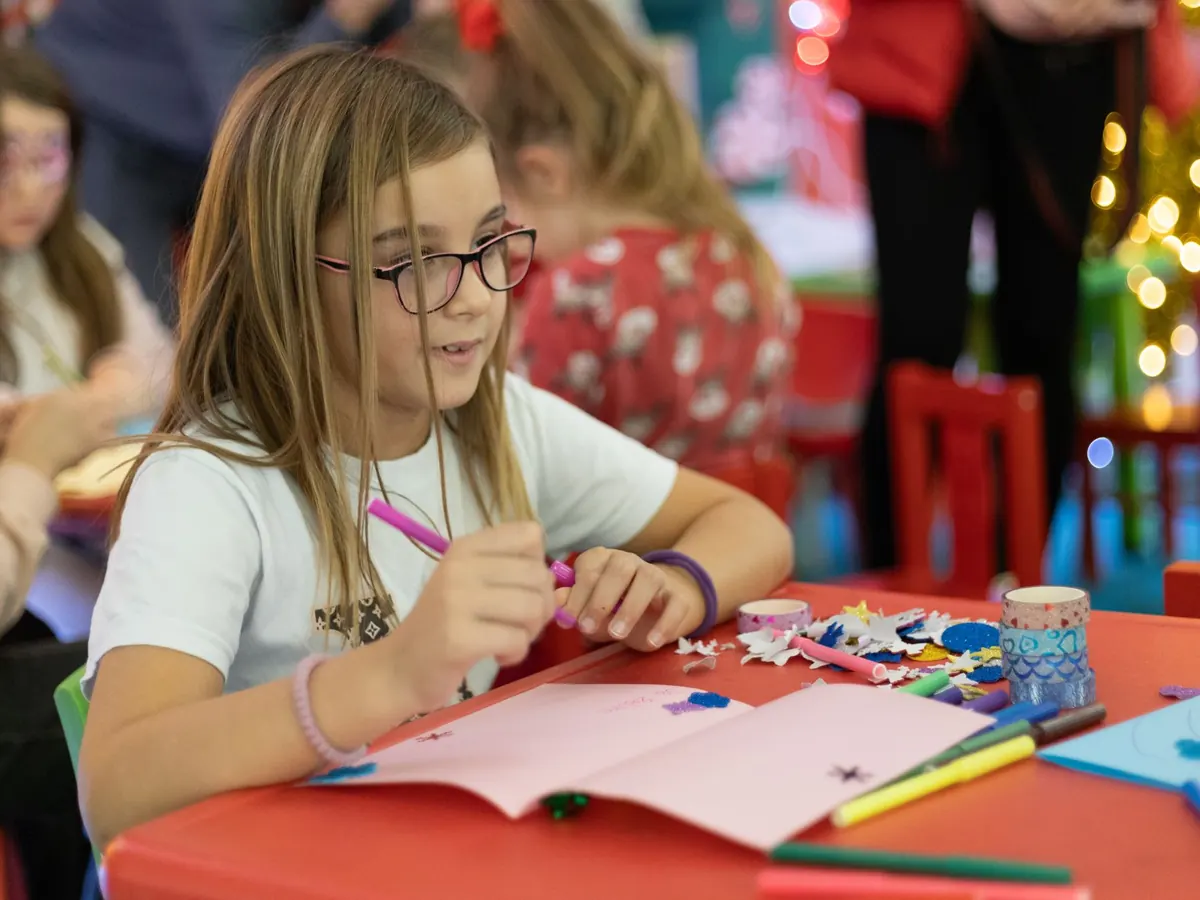
Rinse the blender straight after use and it will last years. Work outside on a dry day if you can, or cover the table and floor and dress for the mess. Children enjoy the dipping and pressing enormously, though an adult should handle the blender.
The first sheet you pull will probably be a wonky, uneven thing. Keep it anyway. It makes a good note of where you started, and by the time you've pulled a dozen more, you'll have a small stack of paper that feels genuinely yours.
Photo: art_of_pboesken / Pixabay